In this third and final post about learning to be a balanced rider for beginners series, I continue to picture a beginner’s first lesson and not wanting to overwhelm the new rider. I also want to make the learning of essential riding skills fun.
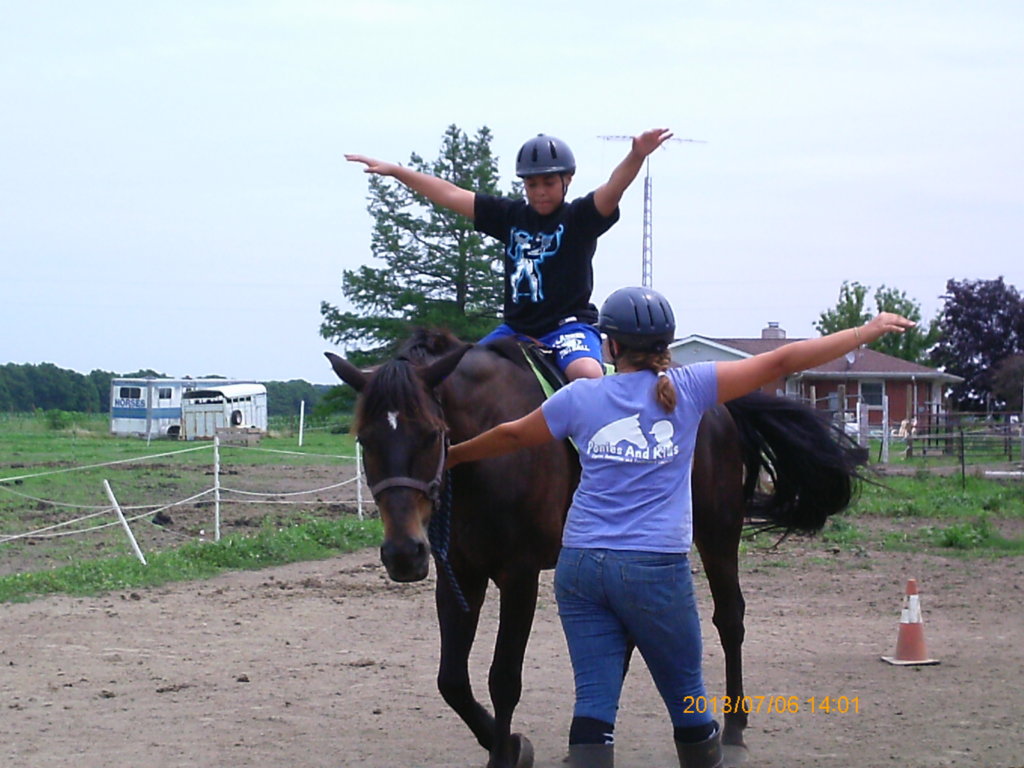
Most new riders want to have fun while learning to ride. It may take a little fun to get them relaxed and learning to trust the horse as well as the instructor. With the below horse riding exercises for beginners will do just that.
With apprehensive beginner riders, the below equestrian balance exercises will help them become confident riders and ready for the next step in riding a horse safely.
Please read the previous posts where you will learn about rider balance
A rider must always look forward between the horses ears.
One of the first things most people do when dealing with heights is to see how high they are off the ground by looking down. When someone goes up a ladder or across a walking bridge, we tell them to relax and not look down. Well, the same is with a rider on a horse or pony.
It is important for beginner riders not to look down because they usually start leaning their body over in the direction they are looking. They might even get a little dizzy as they watch the ground moving below.
Eyes should always be forward and looking between the horse’s ears. Or looking in the direction the rider wants the horse to go.
Safety while learning to balance is number one
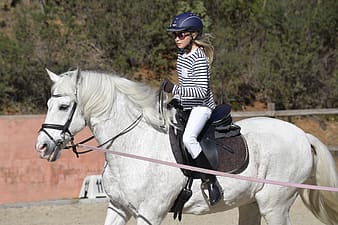
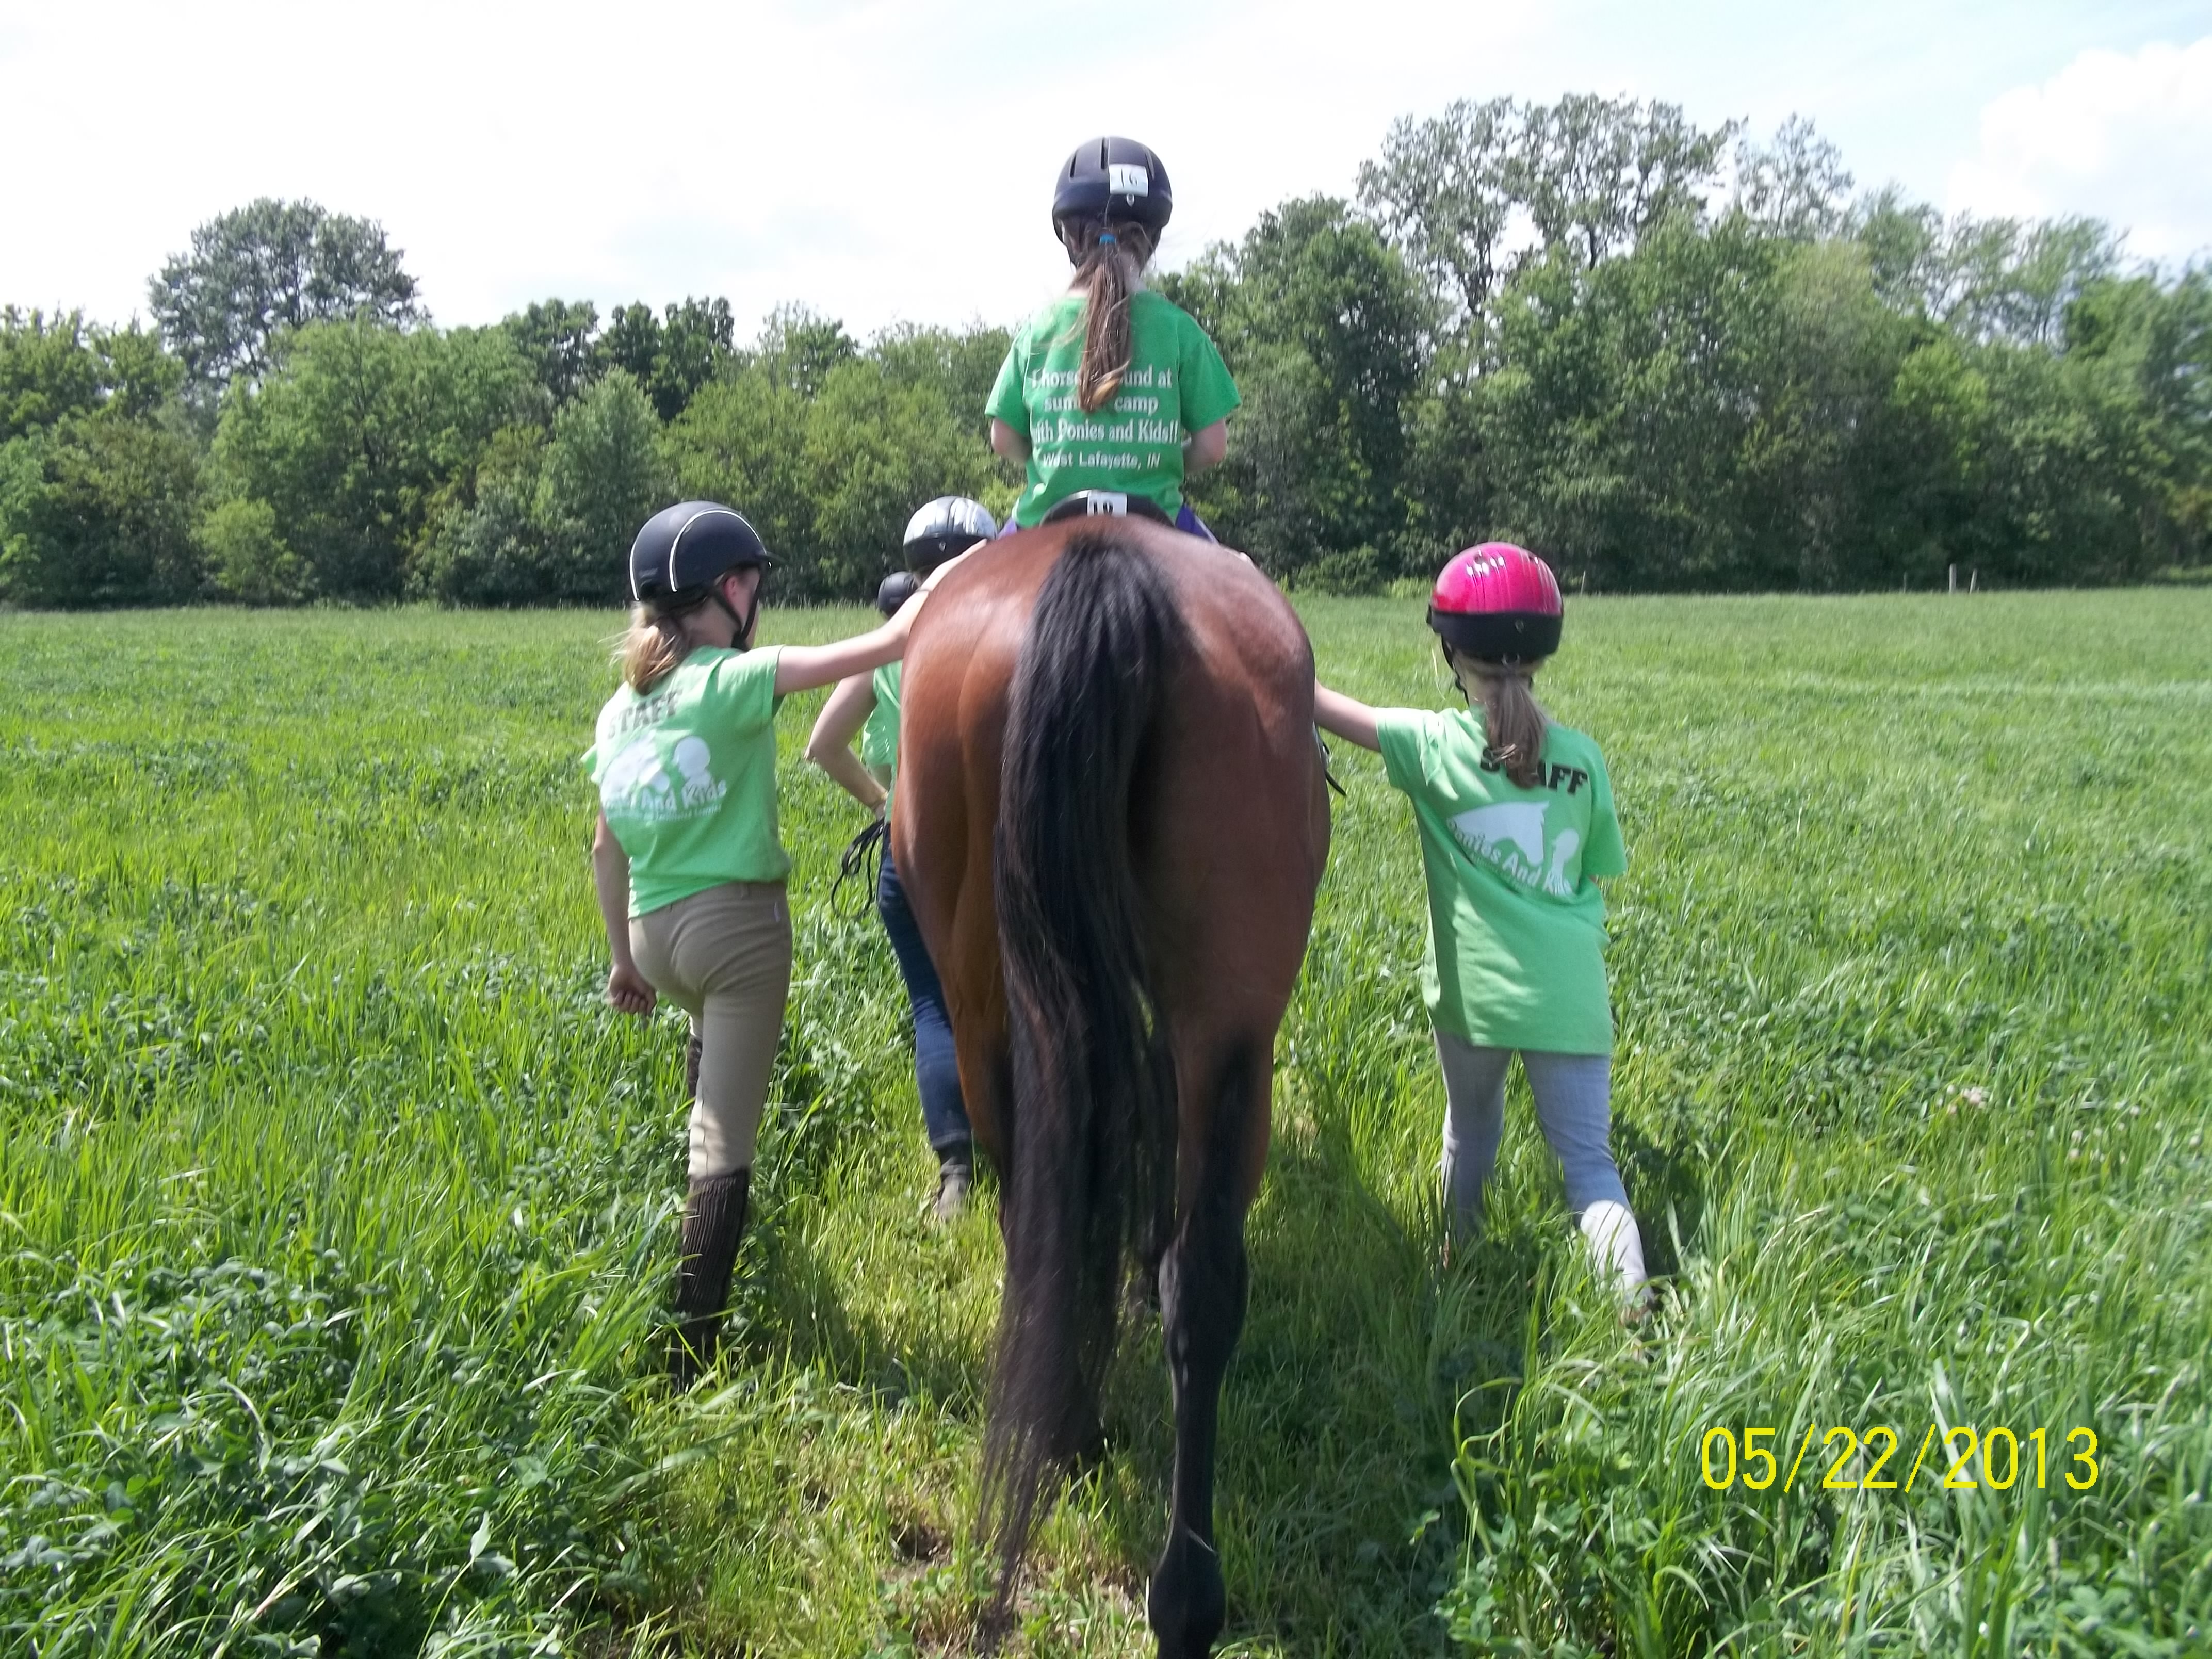
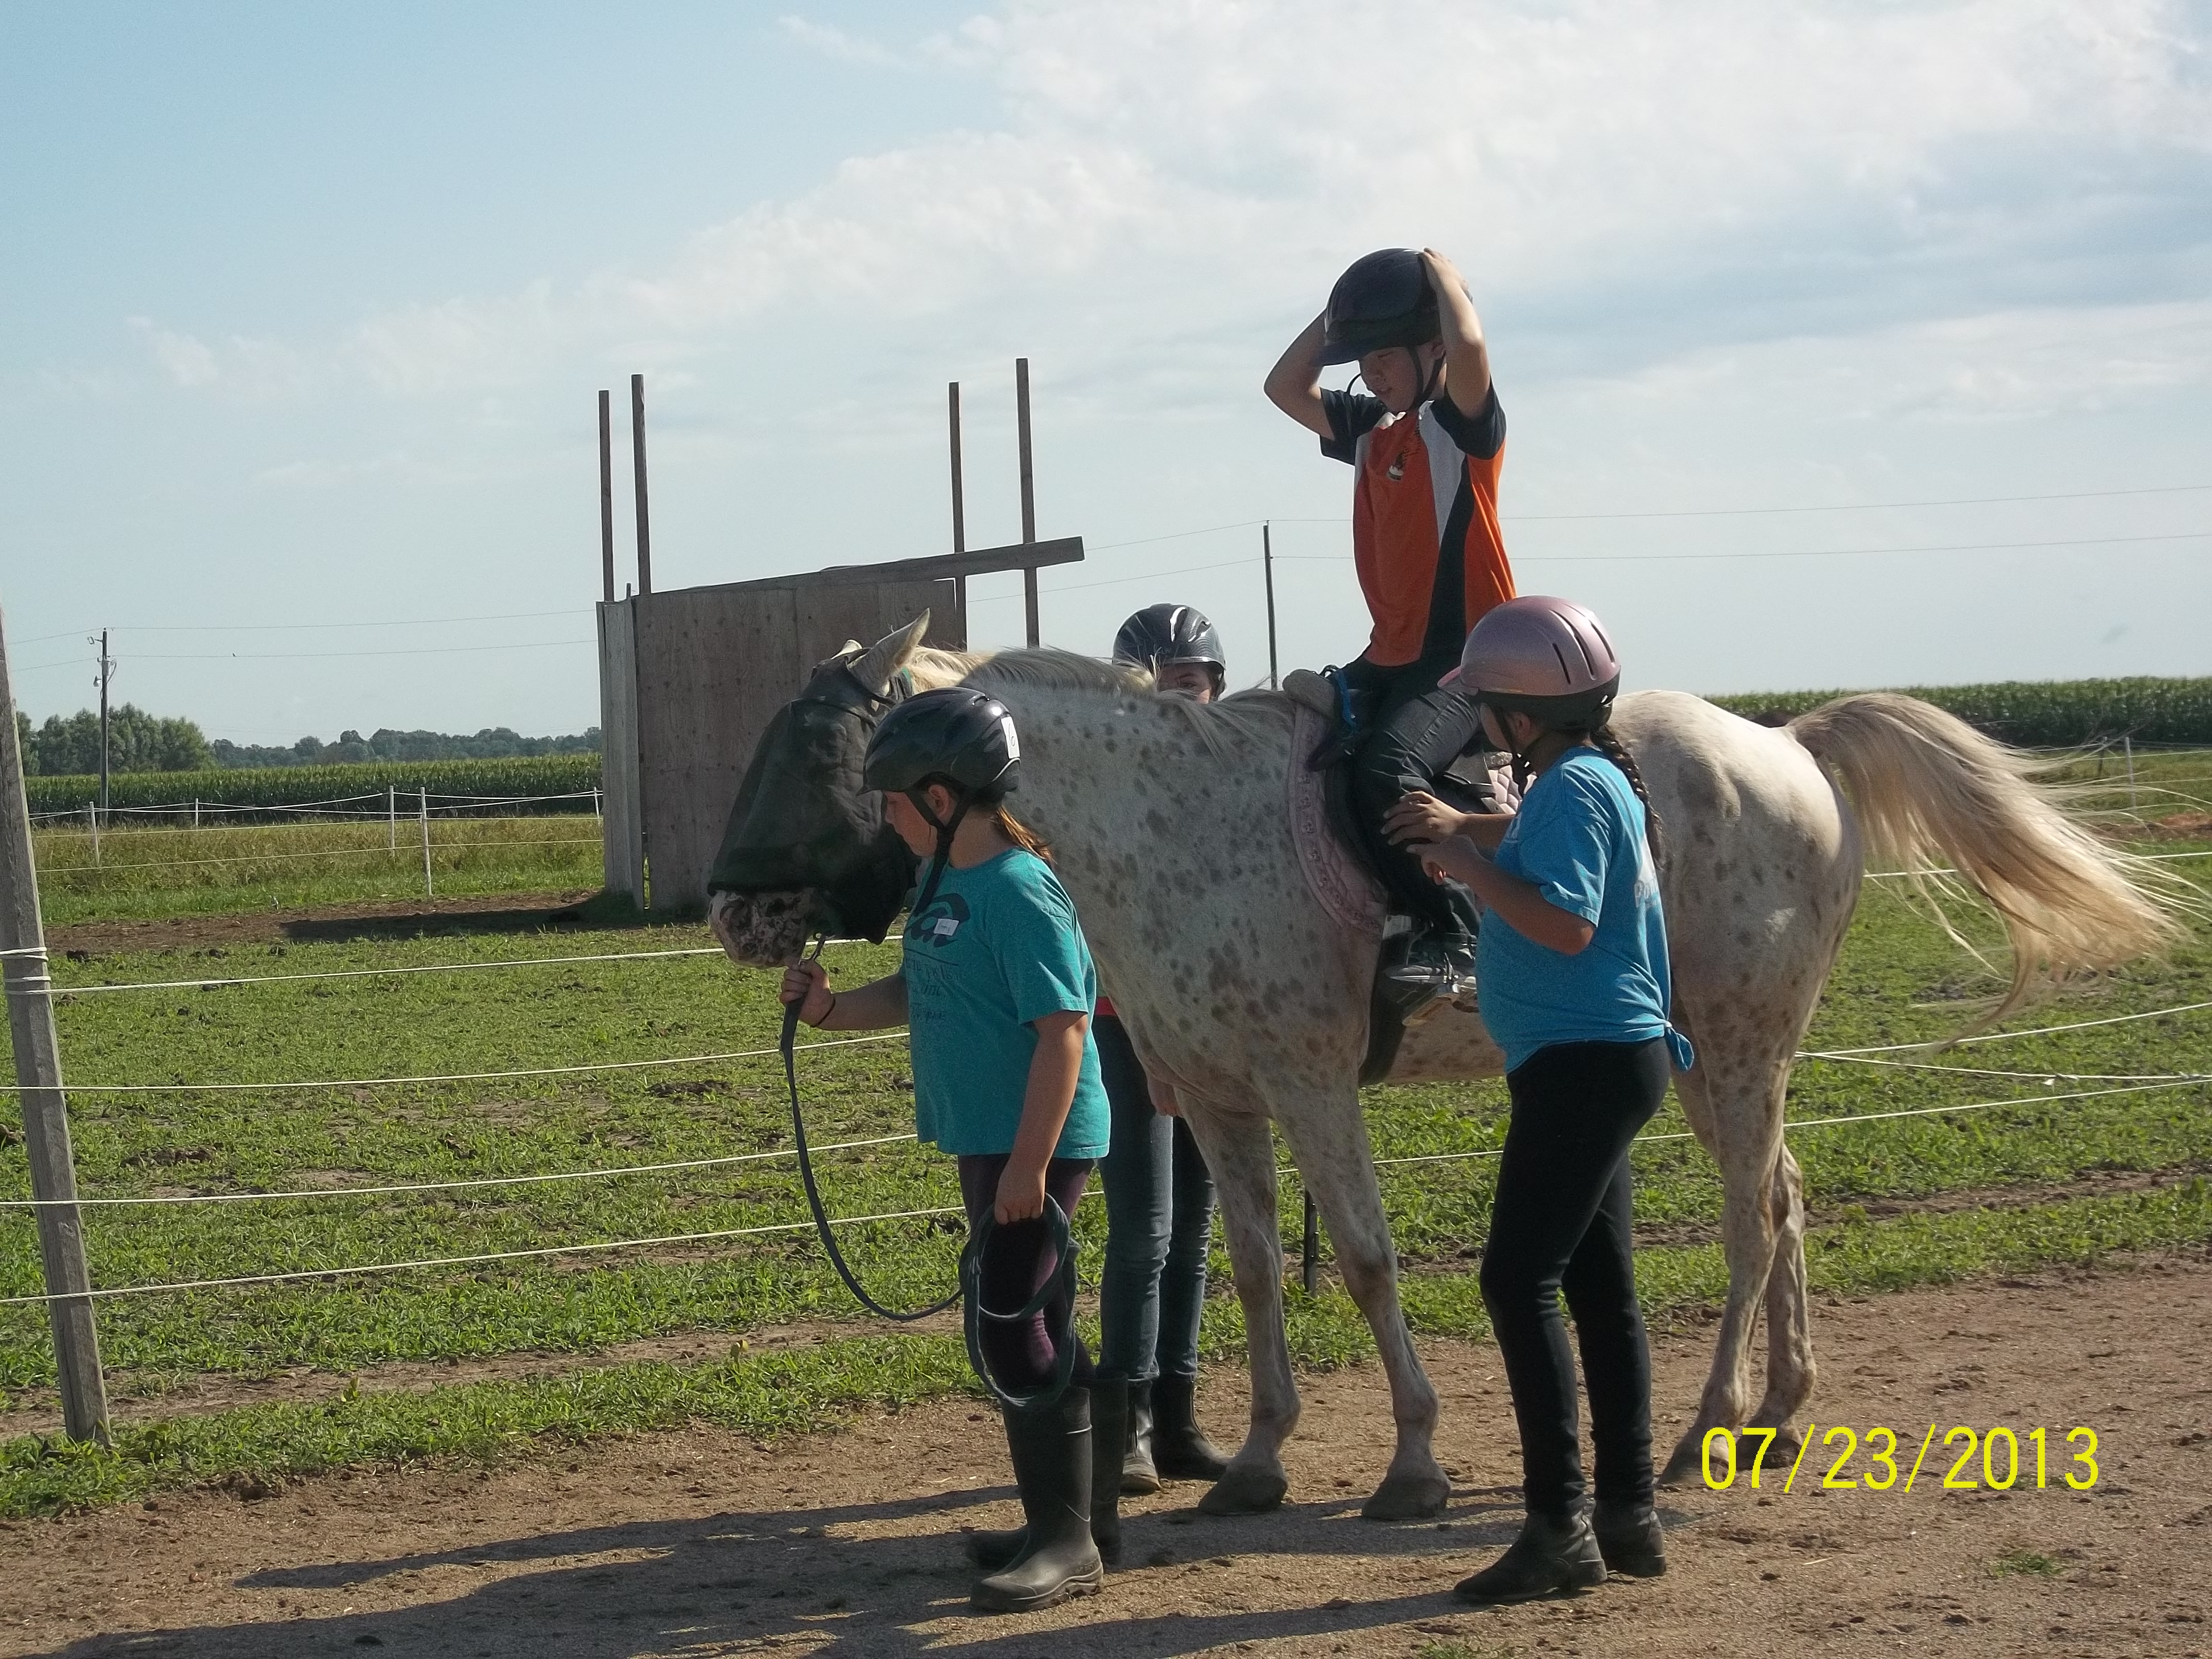
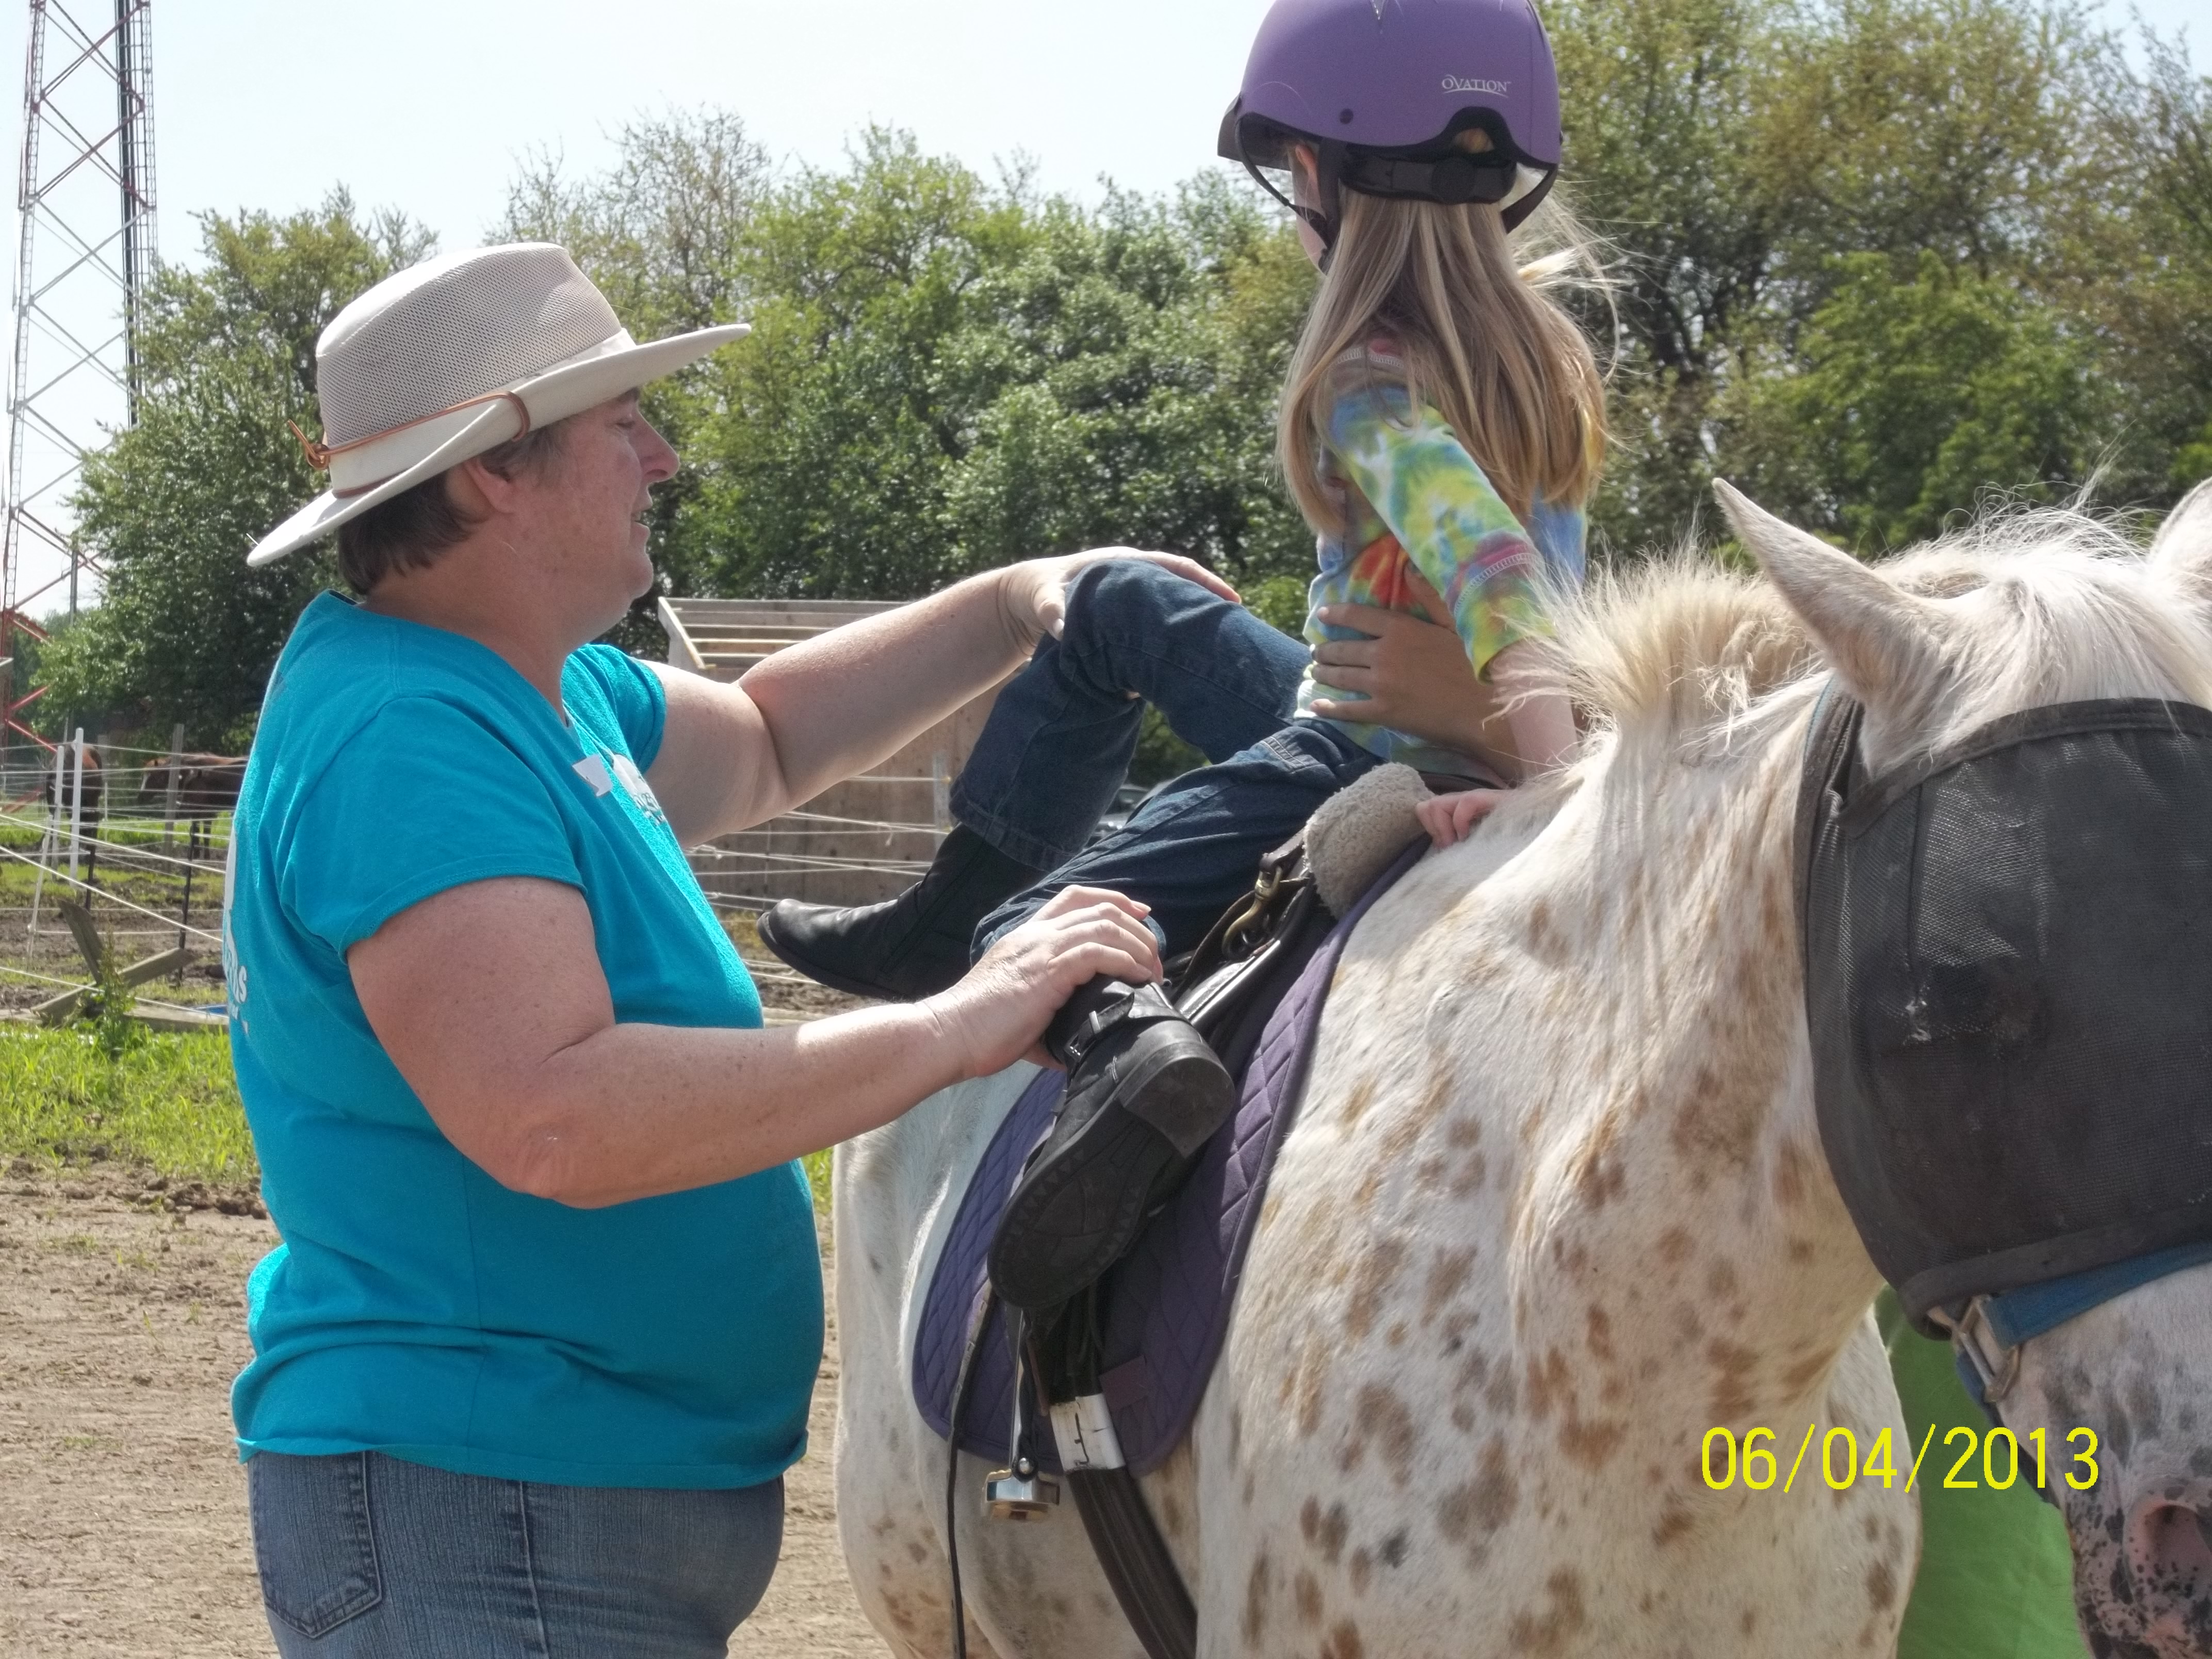
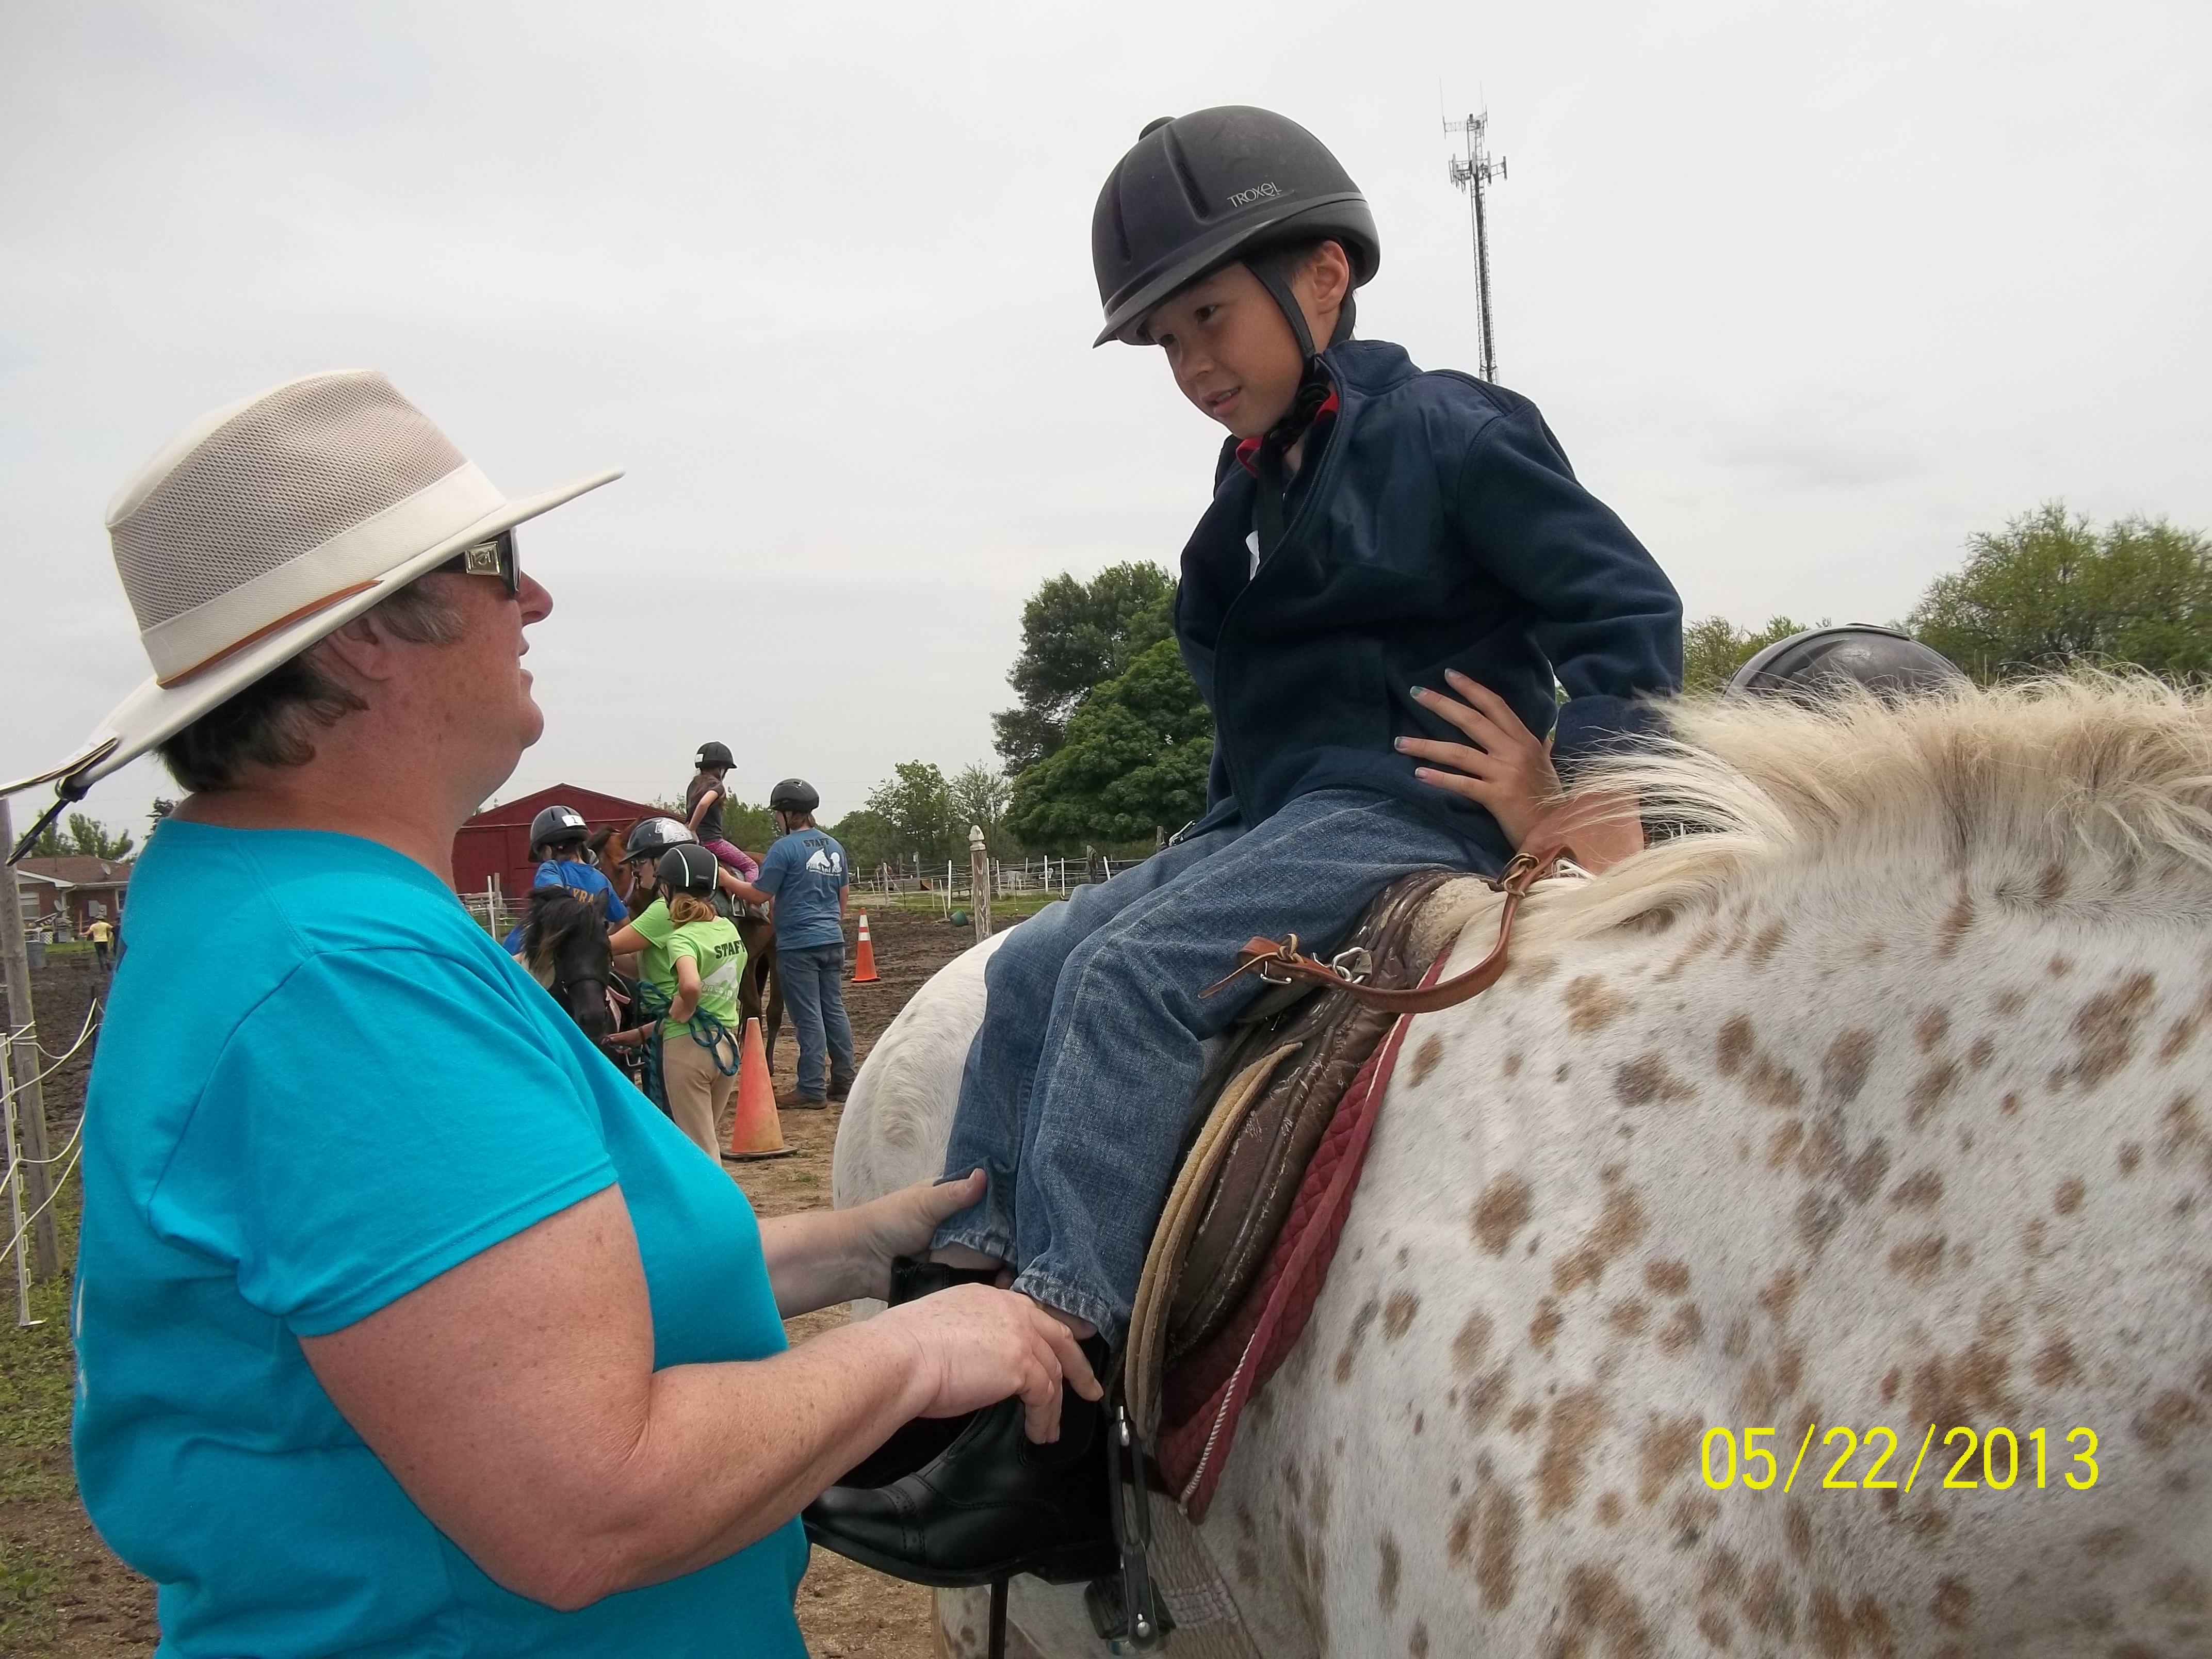
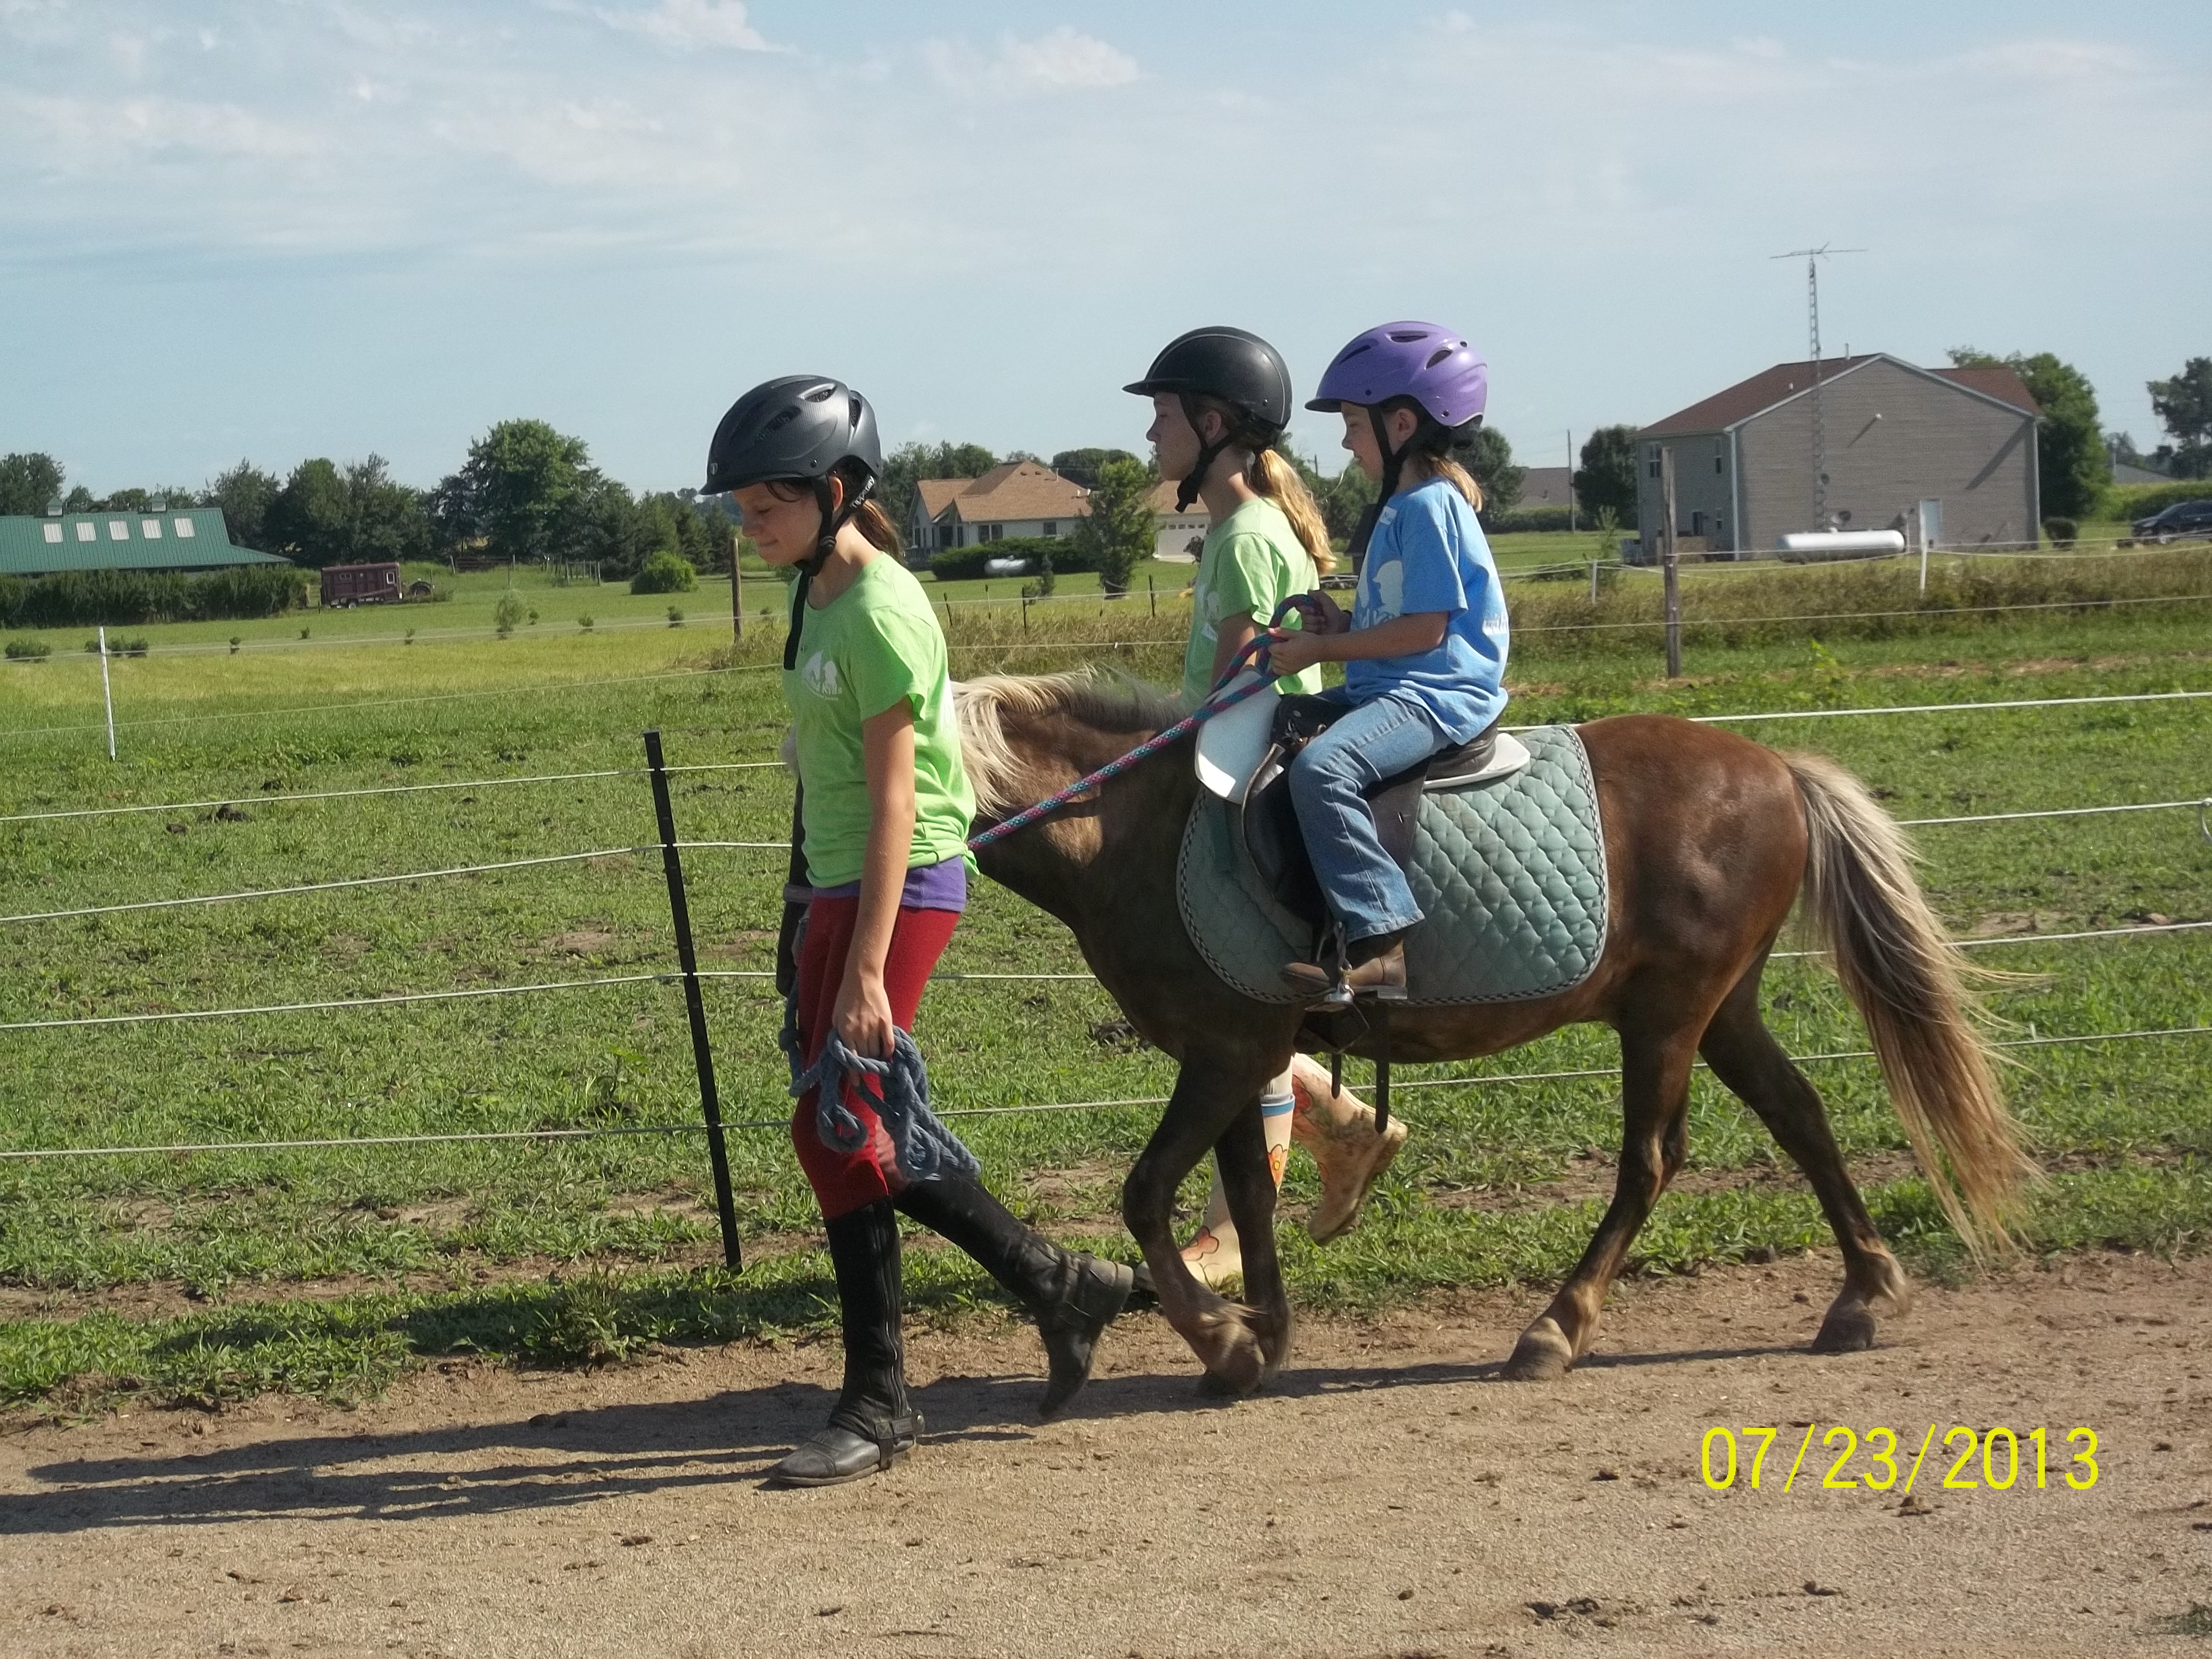
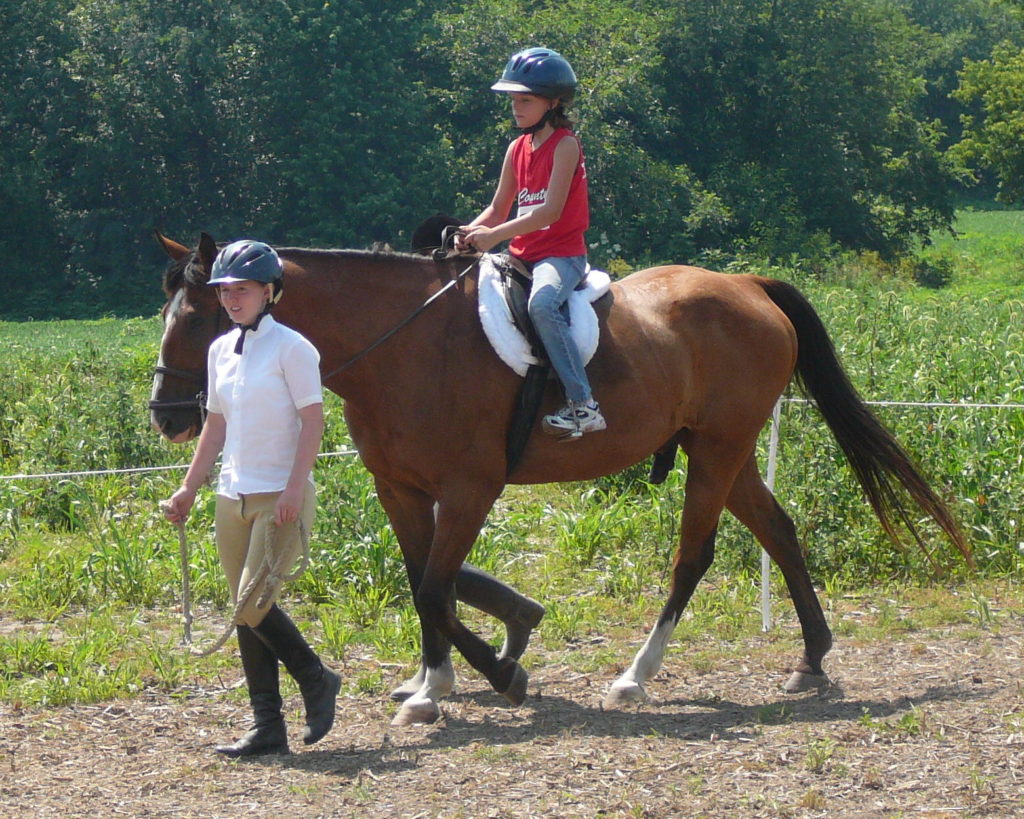
All my beginner riders had a leader and at least two side walkers, one for each horse’s side. The walker would hold the rider’s knee with the right hand, and the left hand held the ankle. They walked beside the horse while holding the rider. This way, they kept the rider feeling safe and could help immediately if there was a problem.
Once the rider felt confident and secure enough, the walkers would walk beside them, ready to assist when necessary. When they graduated from the side walkers, they went to ride with a lounge line attached. Only after finding their balance at the walk and trot on the lounge line were they allowed to use the reins by themselves to turn and stop. This only took a few rides for most. Balancing at the walk is easy; trotting takes a little more time.
Exercises help beginner rider overcome fear and develop balance.
Before a new rider can learn to balance, they have to overcome their fear of being up so high. Because, as we talked about in the previous post, fear creates stiffness which makes a rider unbalanced. https://newtohorses.com/a-beginner-rider-needs-to-learn-how-to-be-a-balanced-rider-part-2-of-3/
During the below exercises, leaders keep the horse steady. Walkers keep the rider safe. The horse needs to be calm and accepting of the rider in any position and whether the touch his ears and tail from the saddle.
These exercises are performed without holding the reins. All exercises can be done at the halt first, then walk. All activities have a different level of safety that must be provided by leaders, walkers, and instructors. Use good judgment!! These exercises can also help a rider learn parts of the horse. They work for all ages of riders.
As the rider progresses, they can close their eyes while doing these excercises. It is a great way to instill even more confidence and balance. (always supervised)
Below are horse riding excersises for beginners. They help reduce fear and increase balance.
I suggest that all new riders start all exercises while the horse is at a halt. Then, once a rider has confidently performed the task at a standstill, they can move on to doing them at a walk first, then trot. See the disclaimer at the bottom of this page.
- Once the beginner rider is confident at the walk and trot, they can move on to doing them on the lounge line without walkers.
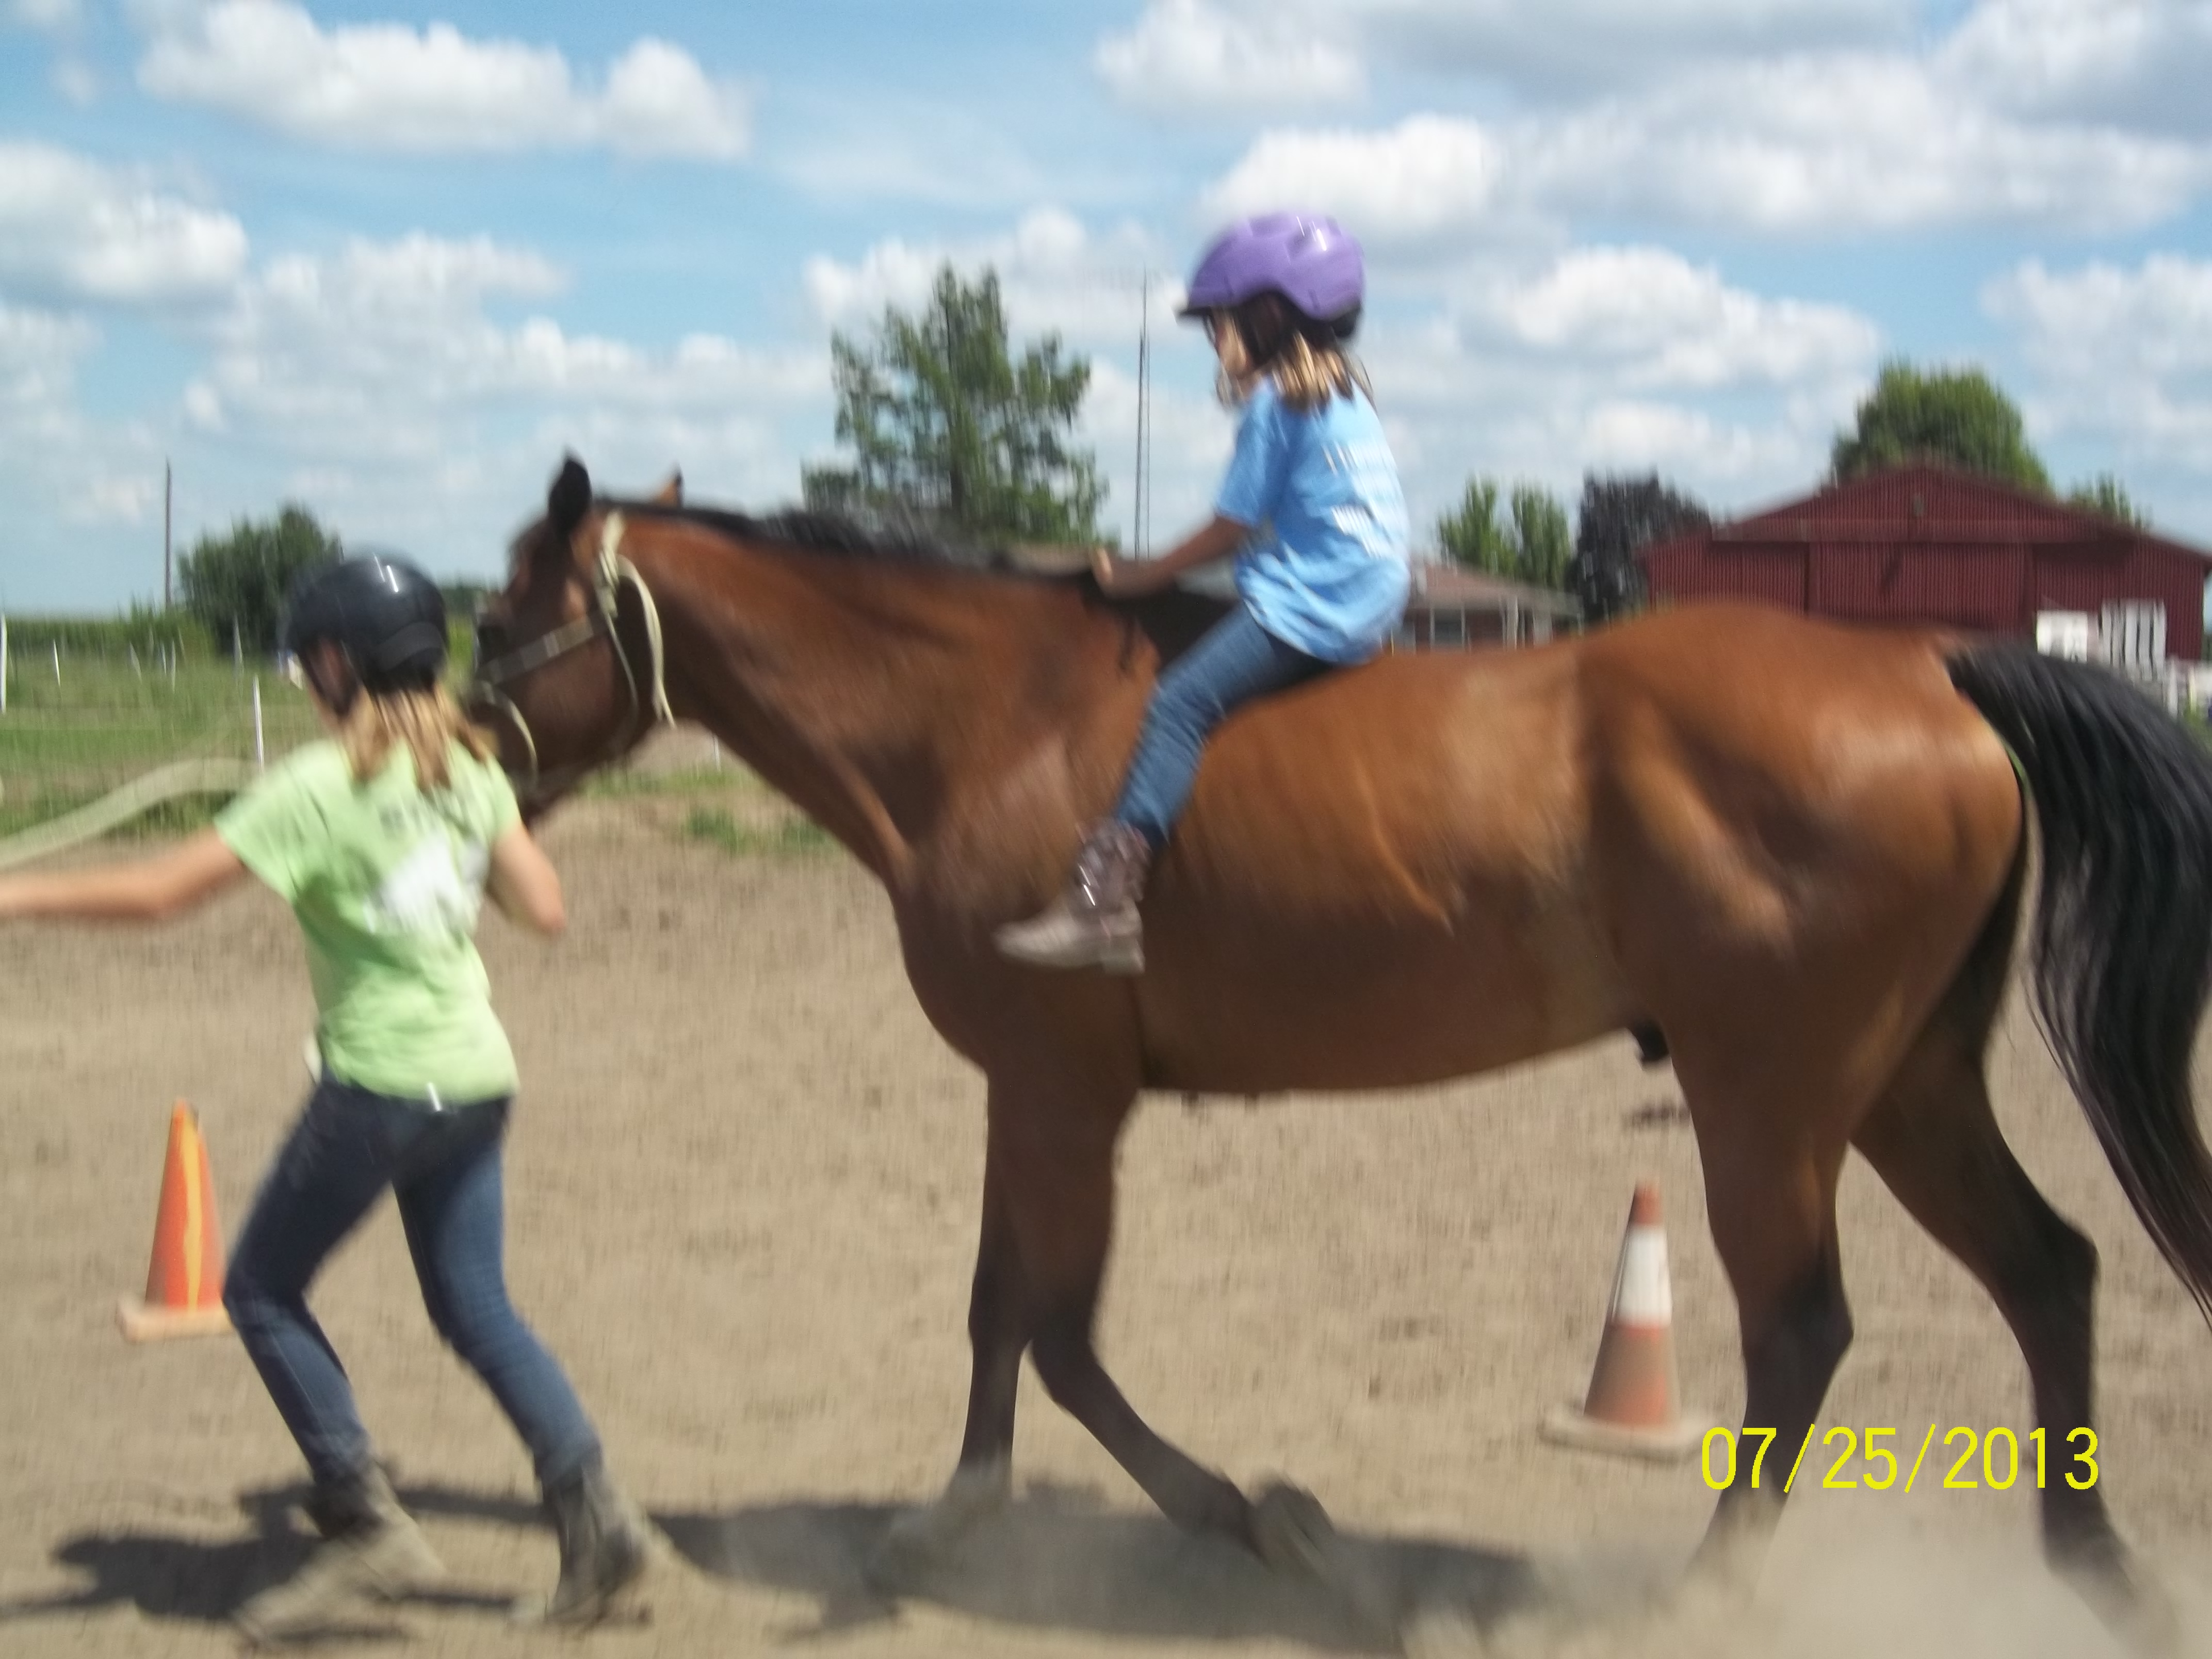
- A new rider who gets comfortable at the walk and trot might have fun doing some of these exercises on a lounge line. Lunge line riding is a great way to control the horse while riders work on their riding position without reins.
- Safety must be a concern, and this is where pommel straps and neck straps can assist even the most advanced rider.
If the rider is scared or insecure about doing any of the below exercises, they can hold the pommel strap and do the exercise with one arm at a time. Always make sure a rider is comfortable before moving on to the next activity.
· 1. First
- brings arms up to shoulder height, like airplane wings
- stretch arms straight up as if reaching for the sky
· 2. Arms stretched straight out like an airplane’s wings
- twist at the waist
- arms up and down like a bird flying
- hands-on top of the helmet
- with each hand and both touching nose
· 3. Hands-on waist
- twist back and forth
- reach one arm at a time up to the sky and back down
- stand up in stirrups (heals down, not on toes)
- stand up in stirrups and twist back and forth like the twister dance
· 4. Sitting with straight back and bottom in saddle
- With arms on the waist, bend at the waist, putting upper body parallel with the horses’ neck, touch nose to crest
- Eventually, the rider should rise back up without pushing up with their hands or arms without touching the horse’s neck
- No slouching. Remember, heals stretch down, not on toes. The lower leg stays up and down, not back or forward. Raise back into position without touching the horse’s neck with hands or arms
- Reach forward, with one hand at a time, to reach for each ear. When the rider is more comfortable. They can stand up a little and lean forward to truly touch the ears or forelock, using a straight back and not slouching over
- Reach back towards the dock the of the tail
- As the rider is more comfortable, they can lean back to touch the dock
- Reach down with one arm at a time and touch the rider’s toe on the same side foot
- The rider can hold the pommel strap until not necessary. Keeping seat in the saddle.
· 5. Stand up straight, vertical position.
- Hold arms up and out like an airplane. The rider should be sitting tall with no leaning forward or slouching shoulders. Remember, heals stretch down. The rider does not stand on their toes. The lower leg stays up and down, not back or forward. Raise back into position without touching the horse’s neck with hands or arms.
- Stretch to the sky with their hands
- Lean from waist, touch nose to the horse’s crest
- Reach back and touch the top of the dock of the horse’s tail.
- Reach forward and touch the poll of the horse.
· 6. Round the World
- First, practice sitting in all four positions for a few seconds, then move on to doing a complete circle
- The rider starts to move around the saddle. First, by raising the leg in the direction of the turn. Sending it to the next position and pivoting on their bottom, They should be holding on to the front and back of the saddle
- 1st position is forward, the next is sideways, the next is backward, the next continues the circle sideways, and the final movement returns to the forward-facing position. This exercise should always take full supervision to spot a rider if they fall backward or forward off the horse.
· 7. Riding bareback
- With supervision until the rider reaches complete confidence and balance on the horse• Riding bareback helps the rider work on balance without doing exercises.
- Always safety first. If the rider is already showing good balance in the saddle, they can graduate to bareback. Otherwise, when bareback, a walker is a must until they are confident and able to recover from unstable situations.
- The instructor and leader are always paying attention to the rider. And aside walker is close enough to rescue a beginner rider.
DISCLAIMER
New to Horses always recommends reaching out to your riding instructor or equine professional for assistance. A rider should always have experienced supervision when around or on horses. Always wear protective gear. New to Horses blog is purely informational and entertaining.


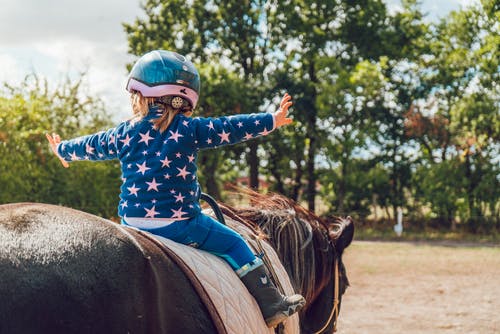
Once a rider is comfortable, confident, relaxed and balanced, they will have a great foundation for learning a “good riding position”
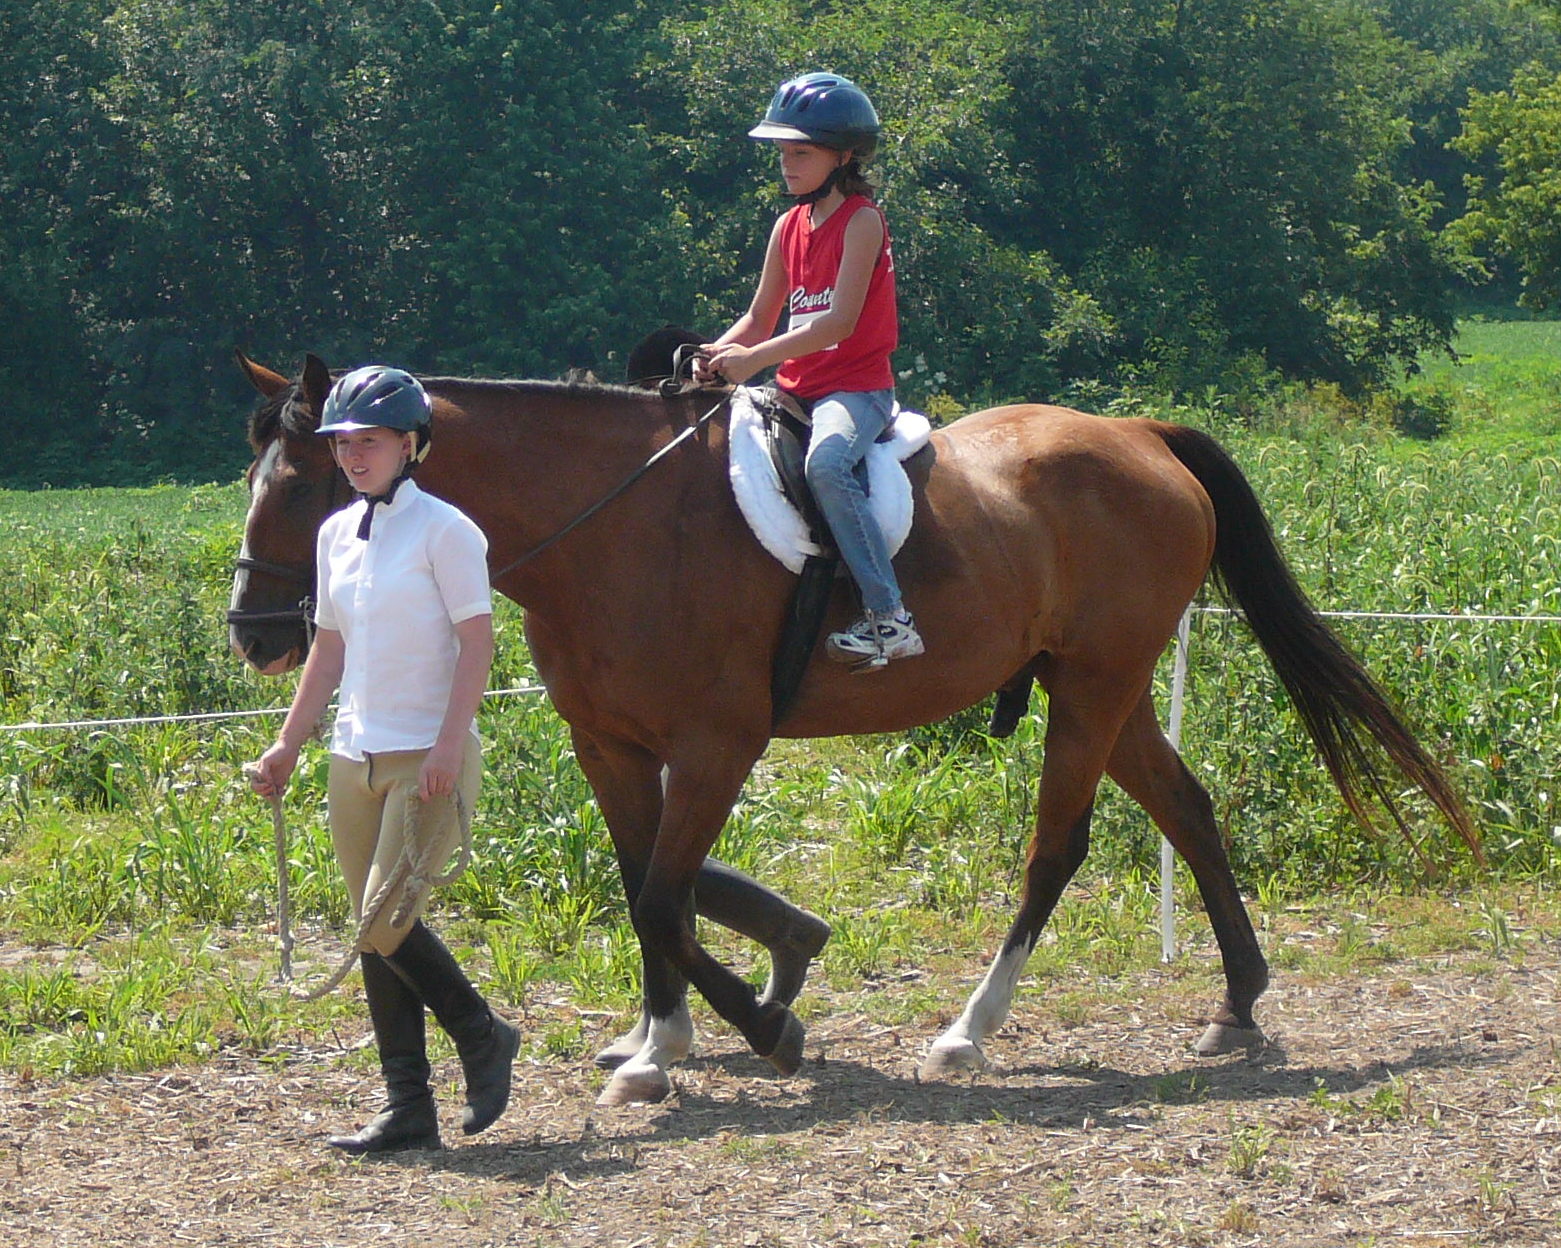
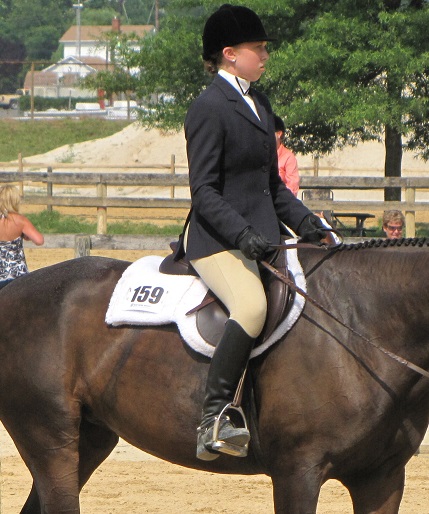
When they can accomplish the above exercises, the beginner rider is ready to start working on their position. They already have begun to develop a position with many of these exercises. All exercises should be executed by sitting up tall, heals down, and lower leg in the center position at all times. A good measure for an effective and safe place is to follow an invisible line from the head, hip, shoulder, and ear.
My next post will cover the basic riding position. This position that I teach is a balanced position that will help a new rider in any riding discipline. I was an English rider, therefore, all my riders were taught in English saddles. I always told parents that I will teach them good positions and riding skills that will stick with them in any discipline they would finally choose.
From what I have experienced with riders that change disciplines, it is much harder for a student that learned the Western-style to transition to the English style. But, my English riders could excel in any discipline or style.
Thanks for reading my blog, I hope it has been helpful and enjoyable. Please feel free to ask me questions or suggest a topic. Also, join us on Facebook and Instagram.
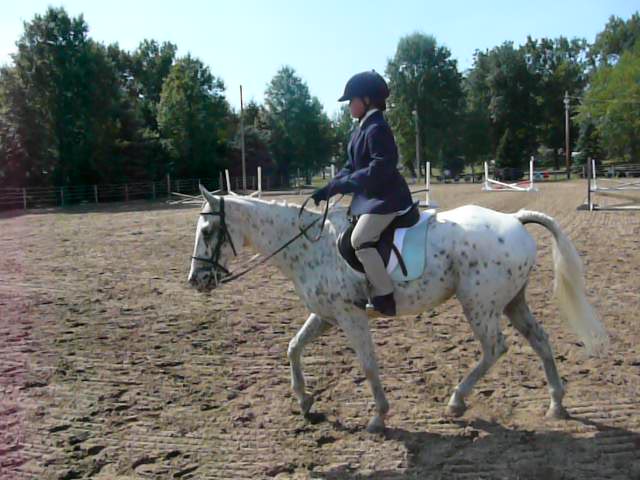
Thanks so much for reading my blog.
I would love to answer any questions. Please let me know how the exercises help you.
Use the link below to visit my Facebook page and leave a picture of you or your beginner rider working on any of the above exercises and leave a comment.
